Tuesday, February 11, 2014

Oh Domino!!

Hi Folks!

I have not posted any new blogs lately.  Been busy with ho hum repairs but nothing to blog about.

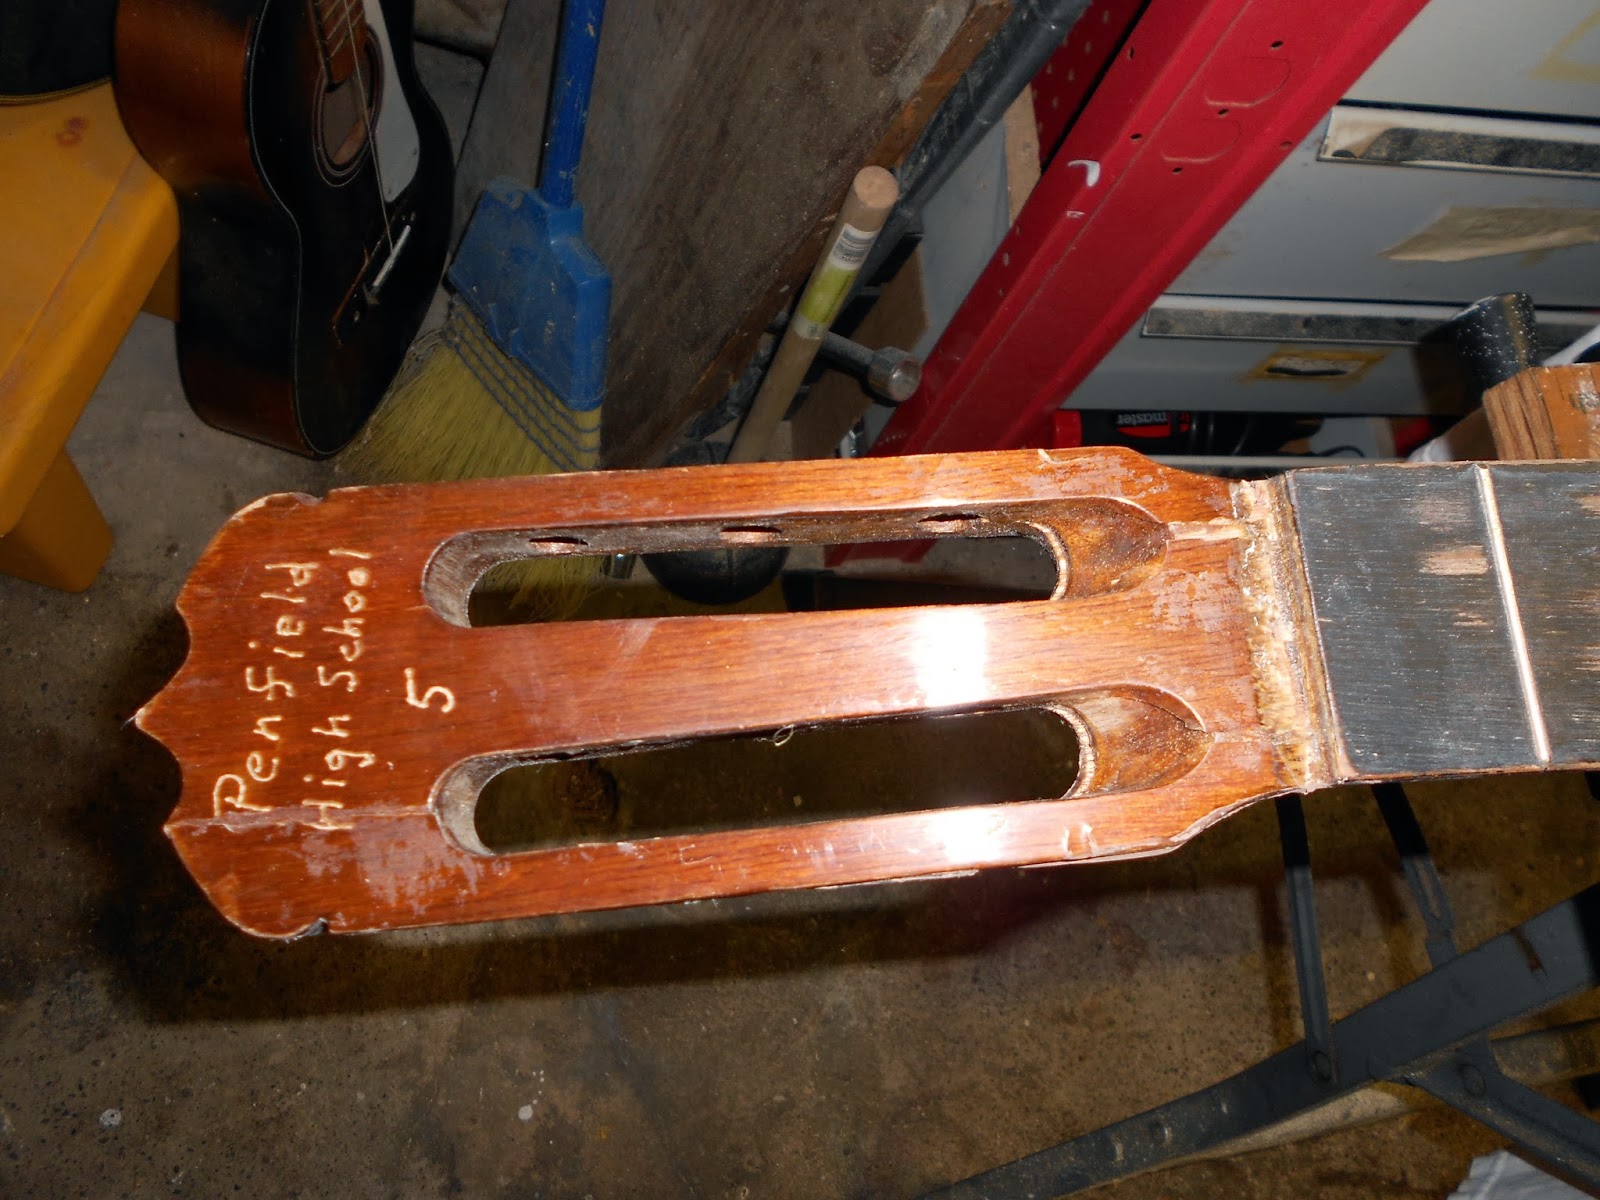
Until yesterday.  A friend brought me his electric guitar to have a look at.  We play in a church band weekly, and as we walked to our cars, he got this out of his car and opened the case in the dark and said "Here ya go"  All I could see was a very strange shape, like a Vox Phantom with a neck, having a slotted headstock. What I found when I got home
was something my eyes had never seen!


A bit of research and image search on line, and I found out just what it is.
It's a 1967 Domino Californian Rebel Model # 80E2.

Ok, but who made Domino?  It looked like Teisco to me, but I never paid attention to the cheaper stuff from Japan, when there was Fender!

I was pretty close!  Kawai purchased Teisco in 1967, and probably the remainder of their raw materials.  They made this 1967 Domino.  These products were imported and distributed by Maurice Lipsky Music Co. in NYC.
By 1967, the biggest electric guitar boom of the 60's was slacking, so not many of this model were brought over from Japan.  This is very rare.

I got her on the bench and plugged into an amp and it was quiet till I tapped on the volume control.  Then it sprang to life. 


I figured it just needed to have the controls cleaned.  In order to get the panel off to view the controls, the bridge, bridge bushings, and tailpiece had to be removed. 


I got her apart, and used WD40 to clean the volume and tone controls.  With stuff this old, I was not going to use contact cleaner.  Sometimes, that will just cement up the inside of the control.  With something this rare, I did not want to replace any parts.  That would devalue the net worth of it.


The WD40 worked!  Next, I only had to tighten the slide switches and three way switch.  The ground wire did come off the control panel, requiring one solder connection to be renewed. 


The bolt on neck seemed loose.  I filled the neck screw holes and remounted the neck.

The controls are too cool.  Normally, there would be a three way selector switch to select between the two pickups, but not this baby!  It has two slide switches to select each pickup on or off.  The three way switch selects three distinct tones for each pickup.  My guess is cut coil, series/parallel, and maybe phase?


The bridge comes with a mute lever, just like the Fender Jaguars!  The vibrato assembly also borrows from the Jag and Jazzmaster.


There we have it!  Today, It gets new strings and set up!  I got a funny feeling these pickups are gonna sound sweet!

PS: Later in the day!  Got the strings on, and things copacetic with the wangle of the dangle, and I was wrong about the three way switch;  The middle position selects a larger value tone capacitor.  The other two positions give series/parallel. All the positions and selections sound great!  Rock on Domino


Monday, October 7, 2013

The Dumpster Save

I got an intersting repair this past week, a Gagliano classical guitar, found in a dumpster.

The customer had found this in the dumpster with a headstock, about to break off. 
 They were actually playing the instrument with some clear packing tape around the "boo boo" 

The guitar would have to be broken apart in order to reglue.


It sure came apart in pieces!  Now to put the puzzle back together.


It's a bit hard to see under all the clamps!


Here, we have the clamps off.


 The neck touched up a bit, the tuners back on,  a fresh set of hard tension strings, and we're jamm'n!


Tuesday, September 10, 2013

The Making of the Misfit Karmacaster


Hi Folks!  Been a while since I've gotten a really "Cool" Guitar reapair to talk about.
First, the story of the name.  A good friend, talented, dedicated musician's coming up the ranks here in the Finger Lakes of good ole New York, fronts a band named "Misfit Karma."  He started the band, playing acoustic guitar and singing lead.  As the years flew by, lo and behold, he has become a very worthy lead picker in the process.  Reciently, he brought me his acoustics to fix and this knock off "Strat" somebody put together for him.    Right off the bat, it sounded bad;  Just not like a Strat should.  The bridge pickup seemed to be out of phase with the other two, which just sounded wimpy anyway. 
I called him and advised him that we should change out the pickups with a new matched set.  He said "Sure."  I said "While I'm in there, let us install the Eric Clapton Mid-Boost board" which turns the bottom tone control over to a mid boost gain up to 25Db.  It's nice, right on board so you can dial it up for a lead and back off at will.  He said "Sure!"


 As I have been ordering tools and guitars parts from Stewart McDonald Supply for probably 30 years, I suggested their line of Vintage Vibe Golden Age Strat pickups.  The Clapton Mid-Boost Mod's, attainable on Ebay.


Armed with diagrams, schematics, I was ready!


The first step was to remove the strings and neck for routing my cavity to house the circuit board.


Above, we have the pickguard removed and ready to gut the old pickups and controls out.  The only component I'm keeping, is the five way switch.  All the remaining electronics have to be switched out and are supplied with the boost kit.


          I decided to rout my circuit board cavity to the left of the original cavities, as you can see by my light pencil marks.  Of course, the pickguard will cover everything.


And,I know I'm not to begin a sentence with and.........Here we have the routed cavity.


There, cozy as a flea in a rug!        


Here we have the circuitboard wired up with all the new controls.


I decided to mount the 9V battery in the back tremelo cavity.  The "Skinny" guy wants the all the springs in and the trem block blocked off like Eric.  I extended the wires to the battery. 
I recieved a bit of shock after wiring up the new 3 conductor jack.  I mounted it in the flange and found out it will not fit into place!  The new replacement jack protruded farther out then the winpy original jack!  I had to open up the chanel so the new jack would fit.  I could not rout the cavity, but I had to channel under to open up room.,without disturbing the flange mount screw hole.  I used a hand held drill to create a pilot hole, followed up by a large countersink bit.  It worked perfect!
 
I got her all buttoned up and pluged a battery in and a cord to the amp.  With the neck and strings still off, I did a tap test on the pickup pole pieces. 
 
All righty, it looks as though we can string her up and continue with a set up.
 
I highly sing the praises of this little mid boost kit.
 

Tuesday, November 13, 2012

Pick Guard and set up Jay Turser

Got a pretty looking Jay Turser Strat for a set up and new pickguard.  The original one seemed to be delaminating.  It looked like it should drop right on, but of course, it did not.


I could not determine that till I got the strings off, and the original pickguard out of the way.  The fingerboard has an end lip the pickguard slides under, and the new pickguard would not fit under the fingerboard without adjusting the neck pocket area on the pickguard.  I placed the new one over the original one, and made my marks with a sharpie to the area I needed to remove.  The new pickguard is Perloid and I thought I'd better not use any power tools to avoid the risk of catching the material on fire.  I settled for a hand file, and little by little, I shaved away the material down to my sharpie line.  The pocket had to be deeper and wider to fit under the fingerboard.  It took about 1/2 hour to shave her down.  When I got to the point where it would clear the fingerboard lip, I lightly straightened my file lines nice and even.  It was time to transfer the pickups and controls over to the new pickguard.  I unscrewed and unbolted the hardware and one by one, started to install the components onto the new pickguard.  I got the three pickups in and the switch before I discovered the holes for the volume and tone pots were too small.  Back Paddle!  I got an old big towel to cover the guitar body, and using a round file, began to enlarge the holes.  After cleaning up any dust, I mounted the three controls, cleaned up some wiring issues left by some hack before me, I layed the new pickguard into place.  Several screw holes did not line up, but enough so I could determine the pickguard would lay in the proper orientation to the body.  I screwed down the screws that did line up with the original holes, and using a pointed awl, made little holes for the rest of the screws.  Done with the pickguard install, it was time to restring it.  I first tightened up the nuts holding the tuners on the headstock, put the new strings on, and began to check for adjustments to be made.  The neck did not need a truss rod adjustment and I turned my attention to the string saddles.  I adjusted the saddles to conform with the radius of the fingerboard, then began to lower the saddles till the string just started to buzz.  I brought the height up till the buzz was gone, and move on to the next string.  After the string height was good, I checked the intonation.  I did not need to adjust any strings for intonation.  I played each string on all frets and checked for dead spots or buzzing and adjusted.  When the string action was where I wanted it, I adjusted the three pickups in height and balance.  It turned out pretty nice if I say so myself!  The customer was pleased with everything and invited me to come hear him play this weekend!  I just might go hear Earl!


Thursday, November 8, 2012

Fix'n the Shoddy

I've had a customer in a young man, in his twenties, bringing me his guitars to fix and set up for the last couple years.  Always nice when I guy (or gal) is a repeat customer.  This guy is a stickler for tone.  He knows what he hears and strives to get it.  Good taste for a young guy, not that I didn't simply adore the Fender Stratocaster as well as most of the rest of the Fender family.  He called last month and asked if he could bring over his Wah pedal.  He found a broken wire under the bottom cover, and could I find the place to hook it back, and could he watch?  I said sure, but I have stuff on the grill and would tend them both. 
   It was the black wire going to the 9 V battery holder.  The ground side of the battery connector.  I scanned the circuit board for solder points near the red or positive connection point.  It could have been one of several to choose from.  Goal: find solder point going to ground.  With one probe of the continuity test clipped to the frame of the output jack, I began to probe the many solder points near my red wire point.  Close, but a few points to the Starboard, I found the point.  I trimmed the black wire clean, stripped it back, tinned the end, and by then, had to find the solder point all over again!
I heated up the point and drove my black wire home.  I checked my food on the grill, and we tested it.  It Wah'd, just as he wanted.  He tipped me $ 5.00 when he found out it was my birthday.
The shoddy part of that Wah was, the battery connector should be secured tight to the circuit board, so that the solder connections are not compromised.  I advised him to be aware of the fragility of the shoddy. 


Thursday, October 11, 2012

The Bronco that wouldn't Buck

I got an interesting job in a couple weeks ago.  What made it interesting was, just that week, I read a repair article sent to me by Stew-Mac, a luthier parts and tools house.  About once a week, I get an e-mail with their "Trade Secrets," and particular week, the article showcased a vintage Fender Bronco Bass.  They were low end student instruments, short scale, and budget priced.  Their worst quality was that the pickup was bright and wimpy.  The repair tech at Stew-Mac discovered that the bass came with a guitar pickup installed.  In fact, they used the same pickup for the Fender Mustang, Music Master and others, including their low end short scale basses!  For the sake of "Vintage" the Stew-Mac guy, created a bass pickup of the same size as the original, but using the proper gauge wire, pole pieces, and windings, thus making a clone to act as a nice deep toned bass guitar!


While the article was still fresh in my mind, I get a fairly new Squier Bronco Bass in for the same complaint.  The bass had too bright a tone, and pretty much, no output to speak of. 


The owner and player of it was a lady, who liked the short scale and light weight, but wanted a deeper tone.  I have not the equipment, nor expertise's to tackle the same project as the Stew-Mac guy, but got the OK to install a P Bass style, split coil pickup and remove the wimpy original


 As we can see, the new pickup is shorter and thicker, using two coils instead of the original thin straight one.  That meant that the pickguard and the body underneath had to be routed to fit the new configuration. 

At first, I thought I'd be able to cover any left-over original route in the pickguard by the placement of the new pickup.  I soon realized the pickup placement would end up in different areas to line up underneath the strings. 
I marked the area to be routed on the pickguard and created that modification first, using a fine cut wheel on a Dremel tool on low speed.  I cut, using the Dremel up close to the final lines and used a series of files to finalize my lines.  The hand work, I knew was going to throw me off my budget estimate!  Oh well....
Next, I marked the body and used a router and template to rout the body to fit the new pickup.  I cut out a cardboard cover to protect the top of the body of the guitar from router scrapes.  That part of the project went smoothly and with the pickguard over everything, only the pickup showed, except for the extra cut left over from the original pickup.  That ended up being covered by a facade of tortoise-shell thin pickguard material I cut and glued in. 
The pickup installed in place and re soldered to the controls, I gave it a light tap test for a signal.  I got nothing!  The pickup, which I had on a shelf in a box for years was dead!  It registered an open circuit.  I unsoldered it and removed it from the bass and then I noticed a broken wire underneath, linking the two split coils together.  I was sure and confident I could merely re solder the wire back in place under the coil.  Unfortunately, the area was old and weak and my repair did not do the job.  I closed up shop for the day and thought I'd give one of the local music stores a try to see if they had anything used that I could replace my broken one with.  Was God ever on my side;  the guy came back on the line and they had a used P Bass style pickup for $ 5.99.  By noon the next day, the Bronco bucked up to order!  Lessons learned, and God on my side, and they even tipped me!  Long live the Bronco!

Thursday, June 21, 2012

The case of the Yamaha with a Lawnmower switch

A few days ago I answered an ad on Craigs List for
a Yamaha electric guitar for $ 20. The picture looked a bit vague, but I thought for the price, I'd take it.  When I met the guy, I had to hide my laughing inside when I saw how someone tried to repair it.  The blade was missing from the 5 way switch, and they put next to it a switch identical to the one I used for a kill switch on my riding lawn mower!  Next to that, was a small push button switch.  I paid the guy and he said this goes with it.  It came with a nice stand and a bag of cords and a cheap tuner.

I got home and looked closer.  The jack was not in sight, but wads of electric tape, folded and screwed to the lower edge of the guitar.  I didn't even try to diagnose anything, I fired up the soldering iron, cut the wires going to the two bogus switches, and unsoldered the pickup leads and the rest of the wires from the original switch which was in fact still in the guitar.

I then removed all the switches leaving the pickups, volume and tone controls.  The "lawnmower" switch left an ugly irregular hole which is still there for now.  The other added switch, luckily was a small neat round hole. 

The next step was to take Ohm resistance readings on the pickups and pots.  They all seemed to be alive.  I found three used switches in a parts drawer which I could use; a 3 way Tele (or Vintage Strat), an import YM-50 5 way switch, and a new Stew-Mac Super Switch with 4 poles, 5 lugs to a pole.  I did not want to use the Super Switch on this baby.  The used Tele switch would limit my pickup selections so I opted for the used YM-50 switch.

I tinned all the wires and in some cases, cut back and re-tinned.  After wiring up the new switch, it hummed, but the pickups were not working.  I again took readings with the multi meter and it should be working.  I was guess'n the used switch of mine was bad.  There was still one thing I could try with the switch.  I was only using 1/2 of the switch, the other 1/2 would be used to run wires to tone controls.  This model Yamaha, had a single volume and single tone control wired off the volume, not the switch as is the way with a Strat.  I decided to wire the pickups to the other 1/2 of the switch.  Bingo!  Everything worked.  I now had a functional three pickup guitar wired to a 5 way switch.  Now, what could I do bout those two extra holes in the pickguard?  Again, I dove into the parts box and found a mini push-pull pot, and a mini On/On switch.  I decided to use the mini switch to wire the neck pickup to as well as the main 5 way switch.  That gave the guitar two more selections or tone options.  With the original switch, the neck pickup can be selected alone or with the middle pickup.  The remaining 3 positions were to select the middle alone, the middle and bridge, and the bridge alone.  In those remaining 3 positions, I now can add the neck pickup too.  That gives the option of using the neck and bridge together or even all three together. The only part I needed now was a jack plate.  I got a football shaped one for $ 4.50.  I might as well install a new jack too.  After I strung her up, I could see the neck needed a truss rod adjustment.  The vintage tremolo system had been screwed down tight making the bar useless.  I got it adjusted nice and shimmery loose and it stayed in tune pretty good.  As for the ugly hole left by the "lawnmower"switch, maybe I'll put in a doll googly eye!